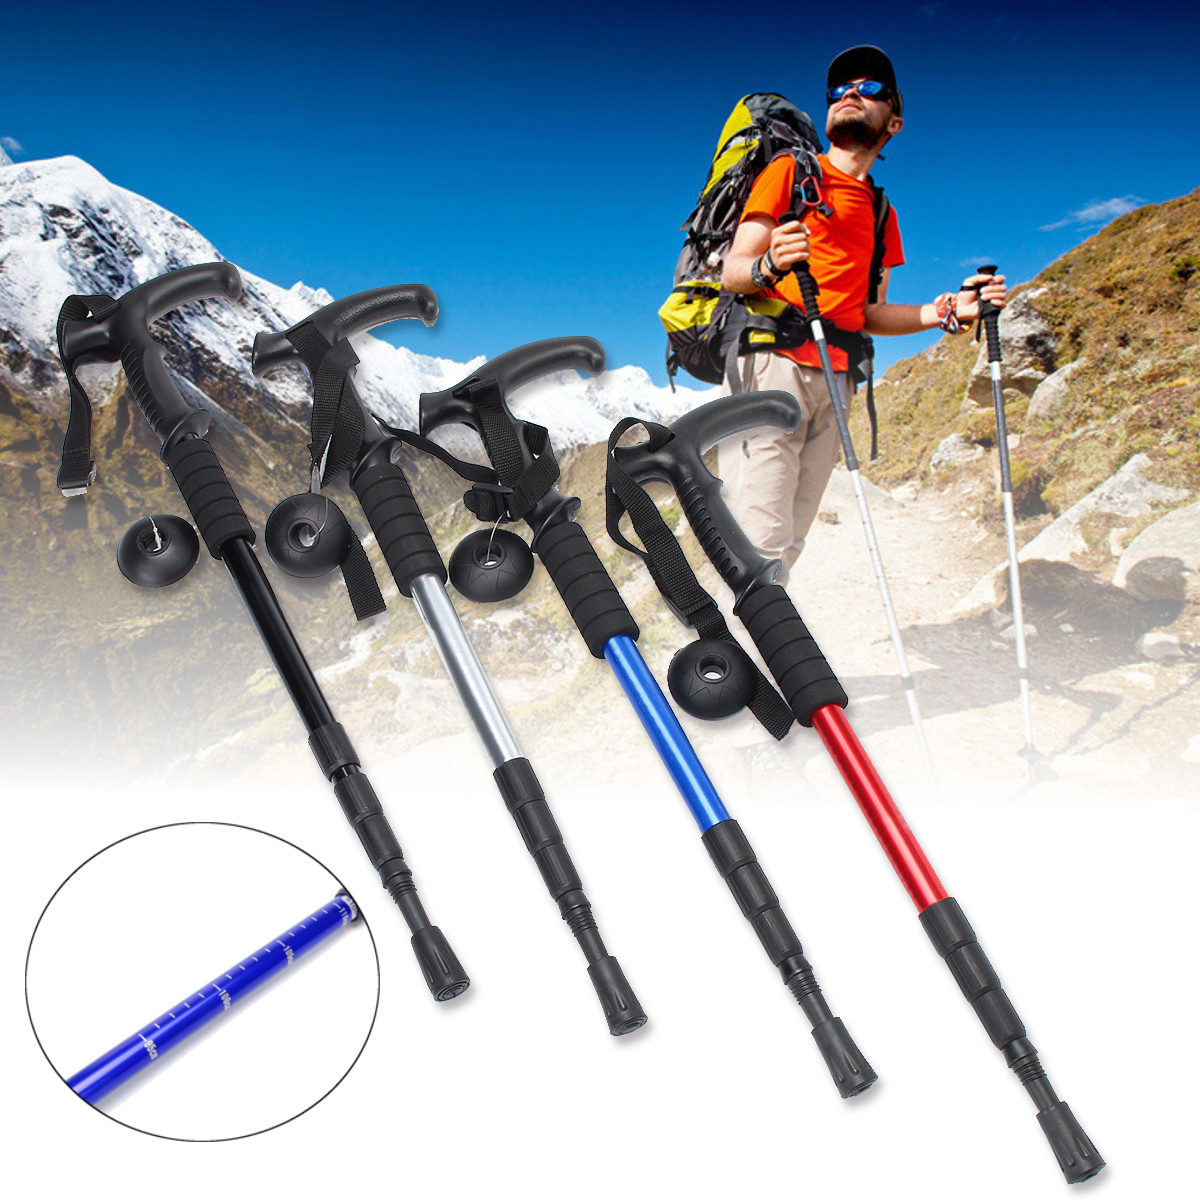
When it comes to our equipment list, trekking poles are an optional item. Trekking poles, however, are a great asset while ascending Mount Kilimanjaro.
There are two reasons to use poles. One less stress on your bones and joints comes from having four points of contact rather than just two.
Two, your poles help you stay balanced, which saves your stabilizer muscles from strain. According to studies, using trekking poles can lessen the strain on your joints by as much as 30%. Anyone who has utilized poles knows that they also help you save a lot of electricity.
You should cut the length in half as you ascend. Lengthen the distance on descents.
A common piece of equipment for many mountain hikers is a pair of trekking poles. The causes are straightforward: They improve your balance and offer assistance on any surface.
Use these steps to maximize the use of hiking staff or trekking poles:
Choose the proper length: When the pole tips contact the ground, your elbow should be bent 90 degrees.
Select features: Just a few of the characteristics and options that will influence your purchasing decision are adjustability, foldability, shock absorption, weight, and locking mechanisms (for adjustable poles).
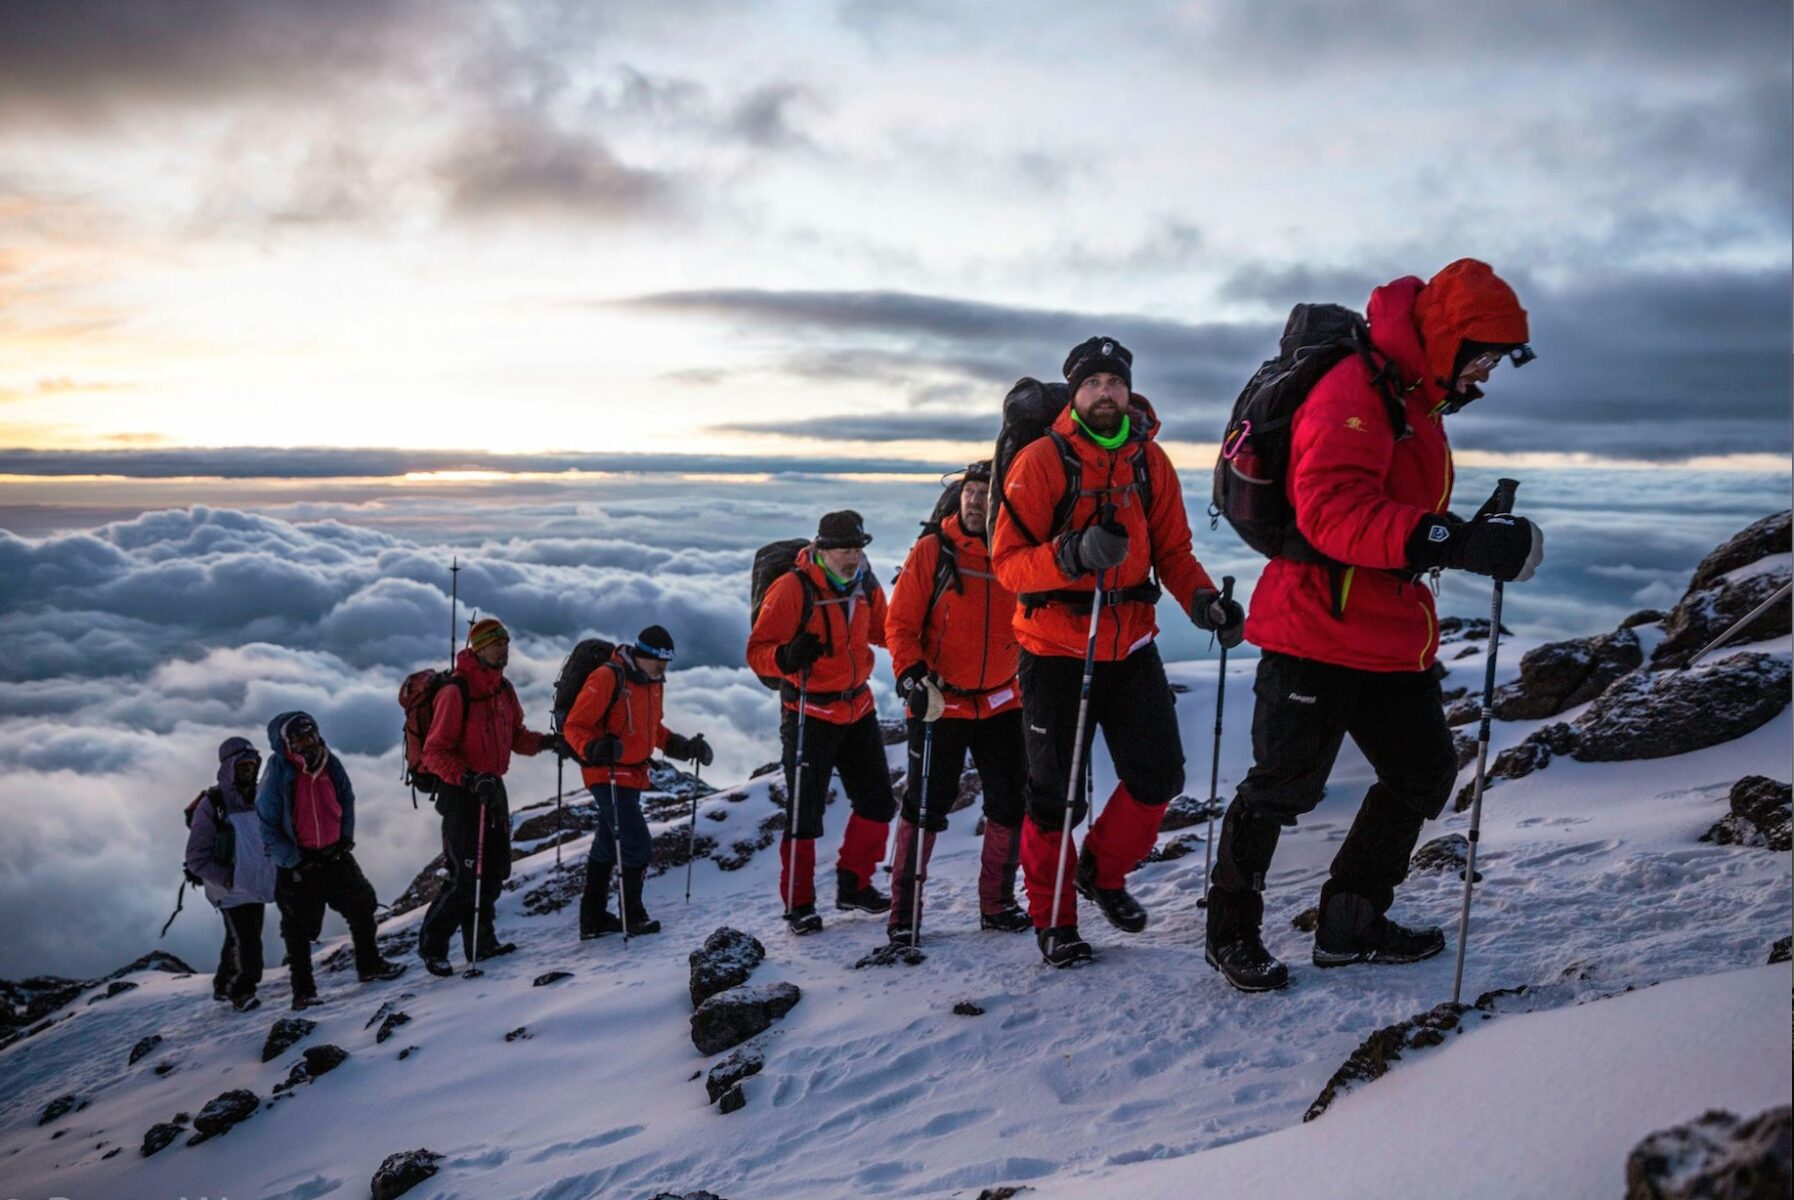
The use of poles is especially advantageous during incline and decline, that is when you are climbing and descending the mountain.
Use your arm muscles to assist you as you climb the slope. Utilize your poles to cushion each step as you descend. Except for travelers who carry big packs, most individuals have never used trekking poles. However, using them is not difficult to learn, and it comes quite readily after your body learns how to trek more effectively.
 Which hiking poles are ideal for Mount Kilimanjaro?
 Which hiking poles are ideal for Mount Kilimanjaro?
Here are some things to think about while buying trekking poles.
Pole Design
All trekking poles generally fit into one of these three categories:
- Two section telescoping
- Three section telescoping
- folding
Two or three parts make up telescoping poles, and they slide into one another.
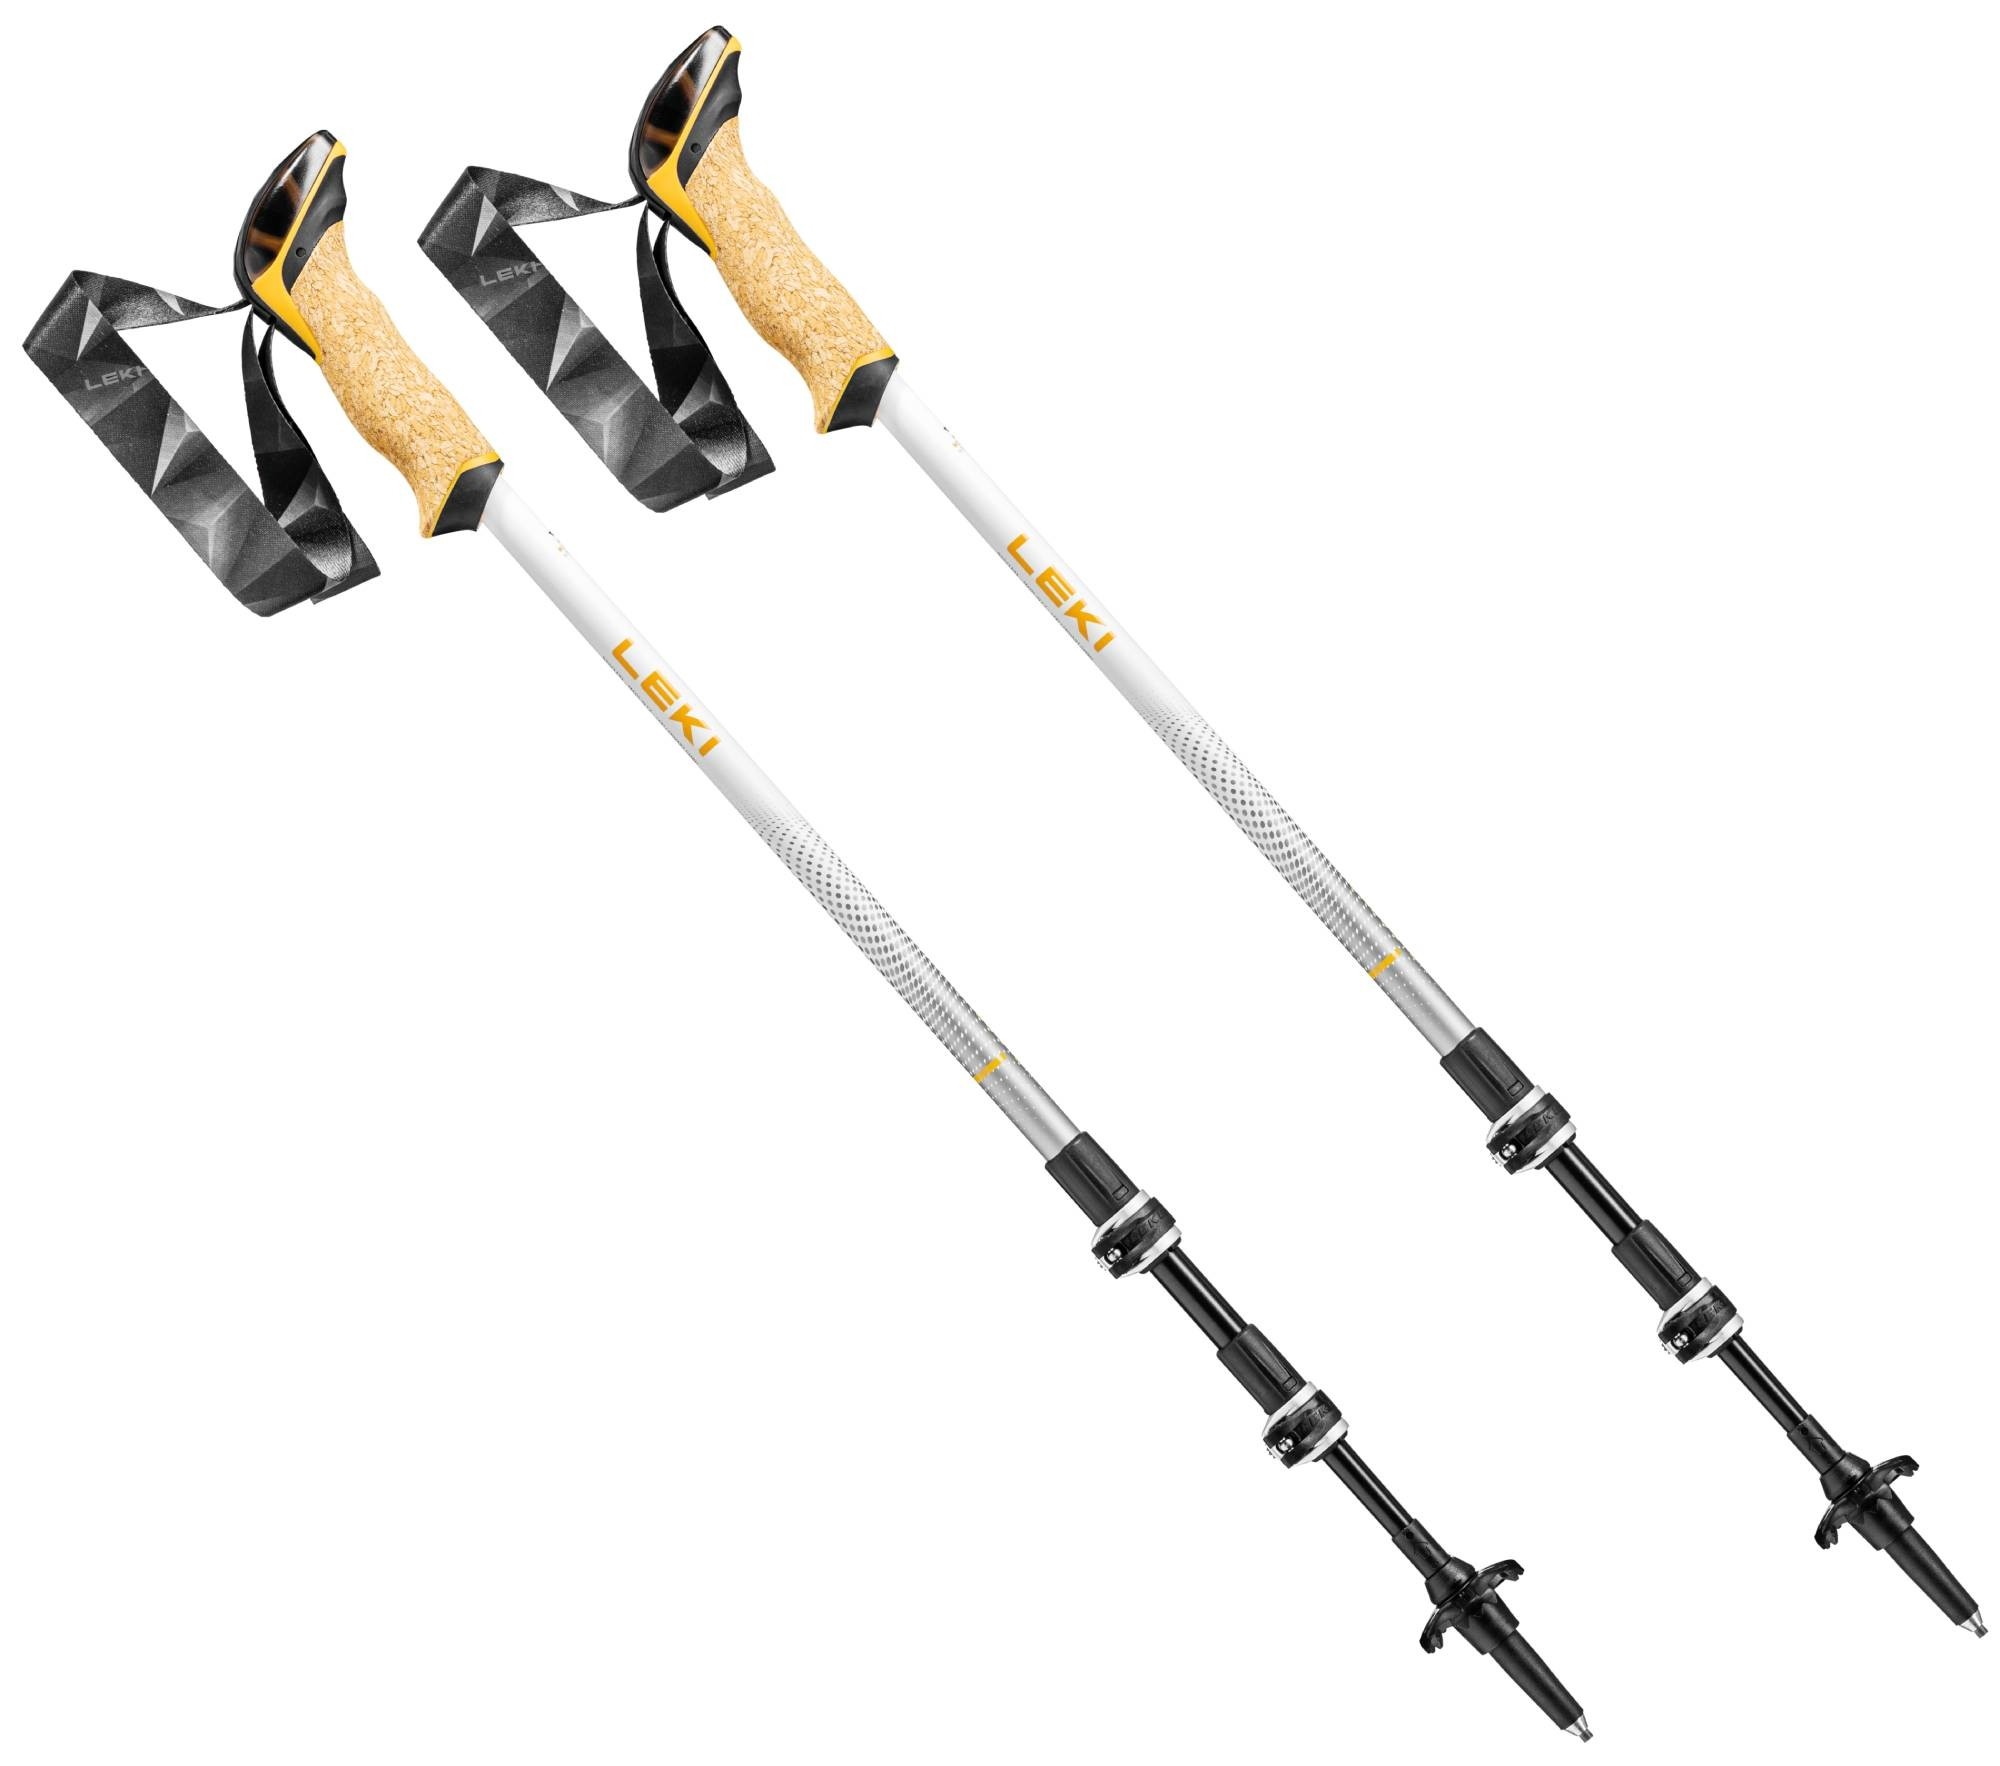
2 Section telescoping: Adjustable poles are telescoping. They should be lengthened to fit your height and to accommodate varying terrain. This is a crucial characteristic and the reason why we favor telescoping poles over folding poles.
3 Section telescoping: Trekking poles that fold up resemble tent poles and are typically fixed in length. On Kilimanjaro’s varied terrain, where shorter poles (for uphill) and longer poles (for downhill) could be useful, fixed-length poles aren’t as adaptable.
Folding poles: These poles often fold up more compactly than telescoping poles, taking up less room inside a knapsack. The interior of the pole has an elastic shock cord that may be tightened when in use or relaxed for storage.
Adjustment Mechanism for Poles
The industry standard and best locking mechanism is the lever lock.
Compared to prior twist lock products, these locks are quicker to change, more robust, and easier to use. Both keep the pole parts in place by exerting pressure on them. Twist locks, however, require less force and are thus less secure. Twist-lock trekking poles have a chance of abruptly collapsing while in use. Twist locks also break down on very sandy paths because the locking mechanism becomes clogged with grit.
Find out how to use poles: You’ll be on your way if you know a few useful tricks, like how to utilize poles to navigate path hazards.
It should be noted that despite the apparent rationality of trekking poles and walking staffs as urban walking aids, you should never purchase them in place of a cane from a medical supply store. Trekking poles and trekking staffs are intended for individuals who are physically capable of traversing arduous wilderness terrain.
Pole Length
When you hold the poles with tips on the ground close to your feet, properly sized poles will have your elbows at a 90-degree bend. This is made simple by the fact that many trekking poles have changeable lengths.
Some, however, are offered in a variety of sizes or set lengths. To select the poles that are the ideal length for you, follow these tips:
For hiking staffs and trekking poles with customizable lengths:
Choose hiking staffs or trekking poles with a maximum length of at least 51 inches if you are taller than around 6 feet.
The majority of adjustable trekking poles and hiking staffs may be shortened to a suitable length for people under 6 feet tall.
Adjusting the Pole Length
It’s crucial to know what height to set your trekking poles at if they have a length adjustment. Your arms, shoulders, back, and neck may experience discomfort if your trekking poles are not correctly positioned.
For ordinary trekking, adjust the length so that your arm forms a 90-degree bend at the elbow when you hold the pole with the tip on the ground close to your foot. The majority of your hiking will be appropriate for this length.
When using three-sectioned poles, it’s a good idea to set the top adjustment to be in the middle of the range and the bottom adjustment to the length that will allow your arm to be at the right angle. The top adjustment will then be the only one you may use to fine-tune the length if necessary while trekking.
To increase leverage and create more stable pole plants, you can cut each pole down by roughly 5 to 10 cm for lengthy uphill parts.
You shorten your poles further when the slope gets steeper. Your shoulders should never feel as though they are being pulled up into your backpack straps or that your shoulders are being stretched or fatigued as a result of utilizing trekking poles to help you go upward. If so, you should further shorten your poles.
Try extending each pole by roughly 5 to 10 cm from the length you put it at for normal trekking on lengthy downhill stretches. Your body will remain more upright and more balanced if you do this.
If you need to increase comfort and stability when traveling a lengthy amount of terrain, you can shorten the pole on the uphill side and extend it on the downward-facing side.
Hiking Pole Features
You might wish to take into account poles with some of these qualities depending on how you want to utilize the poles:
Adjustable: Many trekking poles may be lengthened or shortened to improve stability on various surfaces. They typically adjust between 24 and 55 inches in length. Typically, you should shorten the poles for uphill travel and extend them for downhill travel.
Non-adjustable: Some hiking poles cannot be lengthened. Because they have fewer moving parts than adjustable poles, these fixed-length poles are frequently lighter than adjustable poles, which makes them popular with ultralight users. They work well for tasks where you are confident that a specific length is required.
Foldable: Instead of collapsing into themselves like adjustable trekking poles, foldable poles behave something like tent poles. The most portable poles are usually those that fold up. They are also frequently light and easy to set up. They are particularly well-liked among ultrarunners and quick hikers.
Shock-reducing poles: When you walk downhill, these have inbuilt springs that cushion impact. Most poles allow you to disable this feature while not in use, such as when you’re climbing a hill. Any hiker will appreciate shock absorption, but individuals with unstable hips, knees, or ankles or those who have had prior joint ailments are advised to look for it in particular.
Standard poles: These are lighter and less costly because they lack a shock-absorbing component. While they don’t cushion impacts as well when traveling downhill, they nonetheless offer a comparable amount of stability and support as shock-absorbing poles.
Ultralight: Because they have a less swing weight, ultralight poles have the benefit of being lighter to move. This results in reduced weariness during a lengthy trek. Additionally, ultralight poles are simpler to pack. The material of the pole shaft plays a critical role in determining the pole’s overall weight. Ultralight poles are ones that weigh less than 1 pound per pair.
Camera Mount: A built-in camera attachment is sometimes found under the handle of trekking poles and hiking staffs, allowing the pole to double as a monopod.
Trekking Pole locking mechanisms
All trekking poles, whether they are adjustable in length or not, contain locking mechanisms to prevent the poles from sliding in length while being used. For non-adjustable poles, the locking and unlocking mechanisms allow you to fully extend them for usage and fully compress them for storage. Similar principles apply to adjustable poles, but you can also change the length of the two or three interlocking portions using the locking mechanisms. You may adjust the poles to your height and the terrain thanks to their flexibility, which normally varies from 24 to 55 inches.
Remember to double verify that your poles are fastened securely before you start hiking because all pole locking mechanisms have a tendency to become looser over time. This also entails verifying the clamping tension on lever locks twice.
The four different locking systems that most poles employ are as follows:
External lever lock: Pole length may be quickly and easily adjusted, even while wearing gloves, thanks to a lever-based, clamp-like mechanism.
The push-button lock: Poles with this locking mechanism lock with a single pull and snap into place. To unlock the lock and collapse the poles, push the button. Some of these poles can’t be extended.
Twist lock: uses a consistently robust and long-lasting expander and screw configuration.
Compound lock: Some poles combine the various locking techniques to strike a compromise between strength, lightweight, and use. For instance, a pole may utilize a twist lock on the lower shaft and an external lever lock on the top shaft.
Pole Material
Today’s poles are often composed of carbon fiber or aluminum.
Trekking poles made of aluminum are strong and lightweight. They are less expensive even if they are a little bit heavier than carbon poles. When under stress, aluminum poles can flex, but unlike carbon, they do not shatter as easily.
A significant factor in the pole’s overall weight is the composition of the pole shaft.
Aluminum: The most cost-effective and long-lasting option, aluminum poles typically weigh 18 to 22 ounces each pair. The gauge of the pole, which ranges from 12 to 16mm, might have a slight impact on the actual weight (and cost). Aluminum may bend under intense pressure but is not likely to break.
The highest performance and lightest alternative available are carbon hiking poles. The shaft’s design lightens it and dampens vibration. A carbon pole will, however, inevitably shatter if it develops a dent or cracks.
We believe that aluminum poles are preferable in terms of both cost and durability. Therefore, on Kilimanjaro, we advise using aluminum hiking poles.
Cork, rubber, or foam are all acceptable materials for trekking pole grips. Cork is the most comfortable grip design. Over time, cork adapts to your palms and naturally reduces vibration while hiking. The lightest alternative is cork, which will provide you with a greater grip when your hands perspire. Additionally, it is a sustainable option.
Composite: The shafts of these poles are either totally or partially constructed of carbon. These poles weigh between 12 and 18 ounces each pair on average, making them the lighter and more costly alternative. Although carbon-fiber poles are effective at decreasing vibration, they are more prone to breaking or splintering than aluminum poles when under extreme stress. You should be aware of this if you trek in rocky, isolated locations.
Trekking Pole Grips
To maintain your wrists in a neutral and comfortable position, certain poles and staffs include ergonomic grips with a 15-degree correcting angle. Additionally, some trekking staffs include grips that resemble those on walking canes. For mild trekking as well as casual walking, its form offers decent support.
Grip Materials
Different grip materials have an impact on how the poles feel in your hands.
Cork: This best fits to the contour of your hands and resists moisture from sweaty palms. It also reduces vibration. Choose cork grips if you perspire a lot and will be trekking in a hot environment.
Foam: The most comfortable to the touch and best at absorbing moisture from sweaty palms.
Rubber: This is the greatest material for cold-weather sports since it insulates hands from shock, vibration, and cold. However, it’s less suited for warm-weather trekking since sweaty hands are more prone to chafe or blister from it.
Additional Trekking Pole Factors
Wrist straps: It’s really rather typical to see hikers inappropriately utilizing the wrist straps on their trekking poles. Put your hand through the bottom of the strap, pull down, and take hold of the pole’s grip to utilize them properly. This method enables you to maintain your hand relaxed on the grip while supporting your wrist and hand heel.
To ensure that your hand rests where you want it to on the grip as you bring it down on the strap, you may change the strap’s length.
When the straps are adjusted correctly, you may simply re-grip the pole after releasing it to take a photo, get food, or adjust your bag.
To reduce chafing, some trekking poles include cushioned or lined straps, and many have right- and left-hand specialized straps.
Baskets: Typically, the tip end of trekking poles has a tiny, detachable hiking basket. In the muddy or snowy ground, larger baskets might be used in place of the smaller ones.
Pole tips: Even on ice, traction is frequently provided by carbide or steel tips. When storing poles in your pack, rubber tip guards keep the tips from wearing out and safeguard your equipment.
They are also useful in delicate situations to lessen the ground impact. Use angled rubber walking tips on asphalt or other hard surfaces (often supplied separately).
How Are Trekking Poles Used?
Make sure you are familiar with proper trekking pole usage. The first step is to hold them correctly, which is something that most people fail to accomplish.
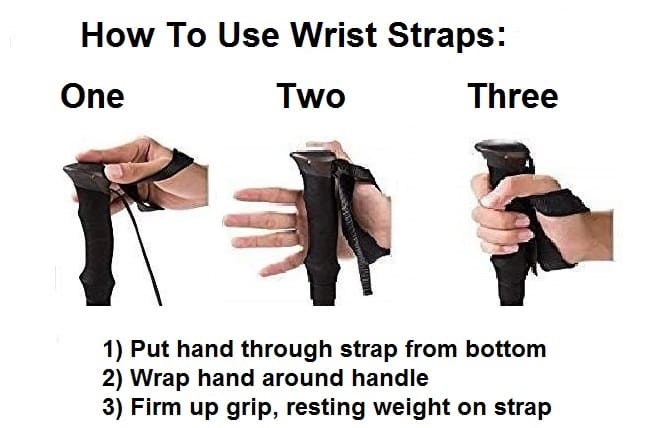 The strap should lie easily over the back of your hand by being inserted through the bottom of the loop and then straight down on top of it. By wearing this strap, the user may utilize the pole without having to use their forearm or grip strength. While gripping the grip, adjust the strap so that it fits comfortably around the wrist. The risk of blisters and hand fatigue are decreased by the wrist loop.
When using trekking poles while walking on level ground, the arms should typically bend at a 90-degree angle.
Alternating Poles and Legs
The majority of hikers rapidly learn how to use trekking poles and develop the perfect rhythm of planting the other trekking pole in time with the opposite foot (right foot, left pole, left foot, right pole, etc.) Simply maintain moving while lifting your poles off the ground for a brief period of time to reset if you lose your rhythm. As soon as you’re prepared, begin planting the poles again. You won’t even need to think about it anymore until this becomes entirely natural.
Double plantings
On occasion, you might wish to plant both poles simultaneously, move forward two steps, plant both poles simultaneously again, and so on. This is useful if you require both poles to be stable on the ground simultaneously during a steep climb or descent.
Moving Naturally
When using trekking poles, it’s essential to retain a natural arm swing and walk as though you weren’t holding the poles in your hands. The poles may be slanted slightly toward your rear so that you may push off as you plant them to help you go forward.
Getting Around Obstacles
When you come upon path problems, trekking poles may be of great assistance.
Crossing streams and rivers: Trekking poles provide you with the stability you need when you have to wade through water. Before continuing, make sure your pole is planted firmly on the ground each time. Lengthen your poles if the water is deep.
Puddles: You may jump over them or use your poles to “pole vault” to the other side by planting both of them and moving around them while maintaining your balance.
Huge rocks: Poles can assist you to push yourself up and over large rocks. Plant both poles in the ground and push up onto the poles while you climb up onto the rock to do this.
Logs: Simply bury the poles in the ground and use them as a source of support to step over a log. You may utilize the poles to increase your balance if you’re walking on a log to cross the water by extending them to both sides (picture a tightrope walker using a large pole for balance).
NB: Trekking poles are very useful especially when descending the mountain, they lessen the strain on your knees when climbing down the mountain. You can rent trekking poles in Tanzania for your Mount Kilimanjaro climb, please let us know in advance so that we can reserve a pair for you.
Additional information
| Mountains | Mount Kilimanjaro, Mount Kenya, Mount Rwenzori, Mount Elgon, Mount Longonot, Oldonyo Lengai |
|---|